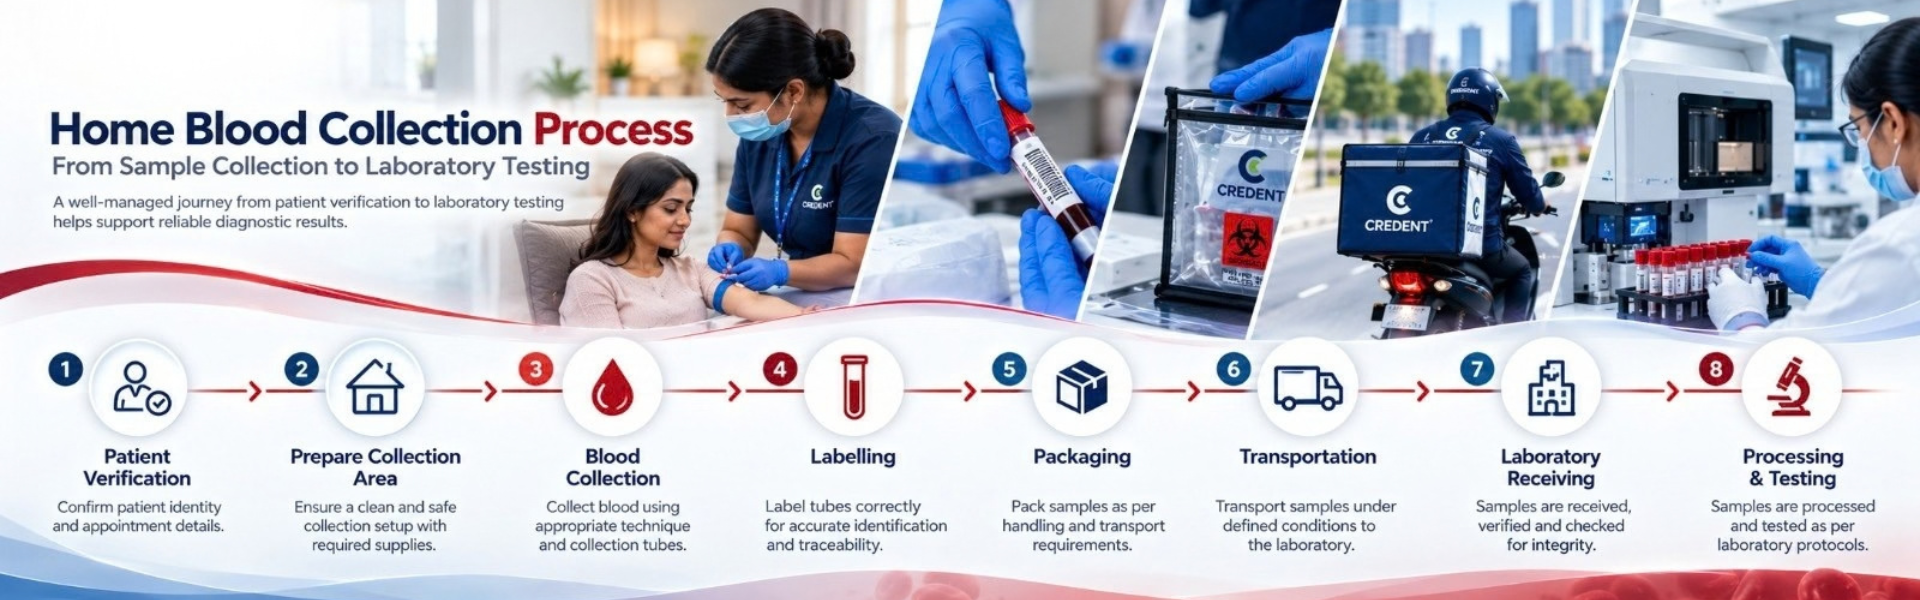
The blood sample may be collected at home, but the real journey starts the moment it leaves the patient's arm.
A phlebotomist finishes the collection, labels the tubes and packs them for transport. From that point, every step matters: how the sample is handled, how quickly it reaches the laboratory, whether the required conditions are maintained, and how the laboratory receives and processes it.
What looks like a simple doorstep service is actually the first stage of a much larger diagnostic workflow.
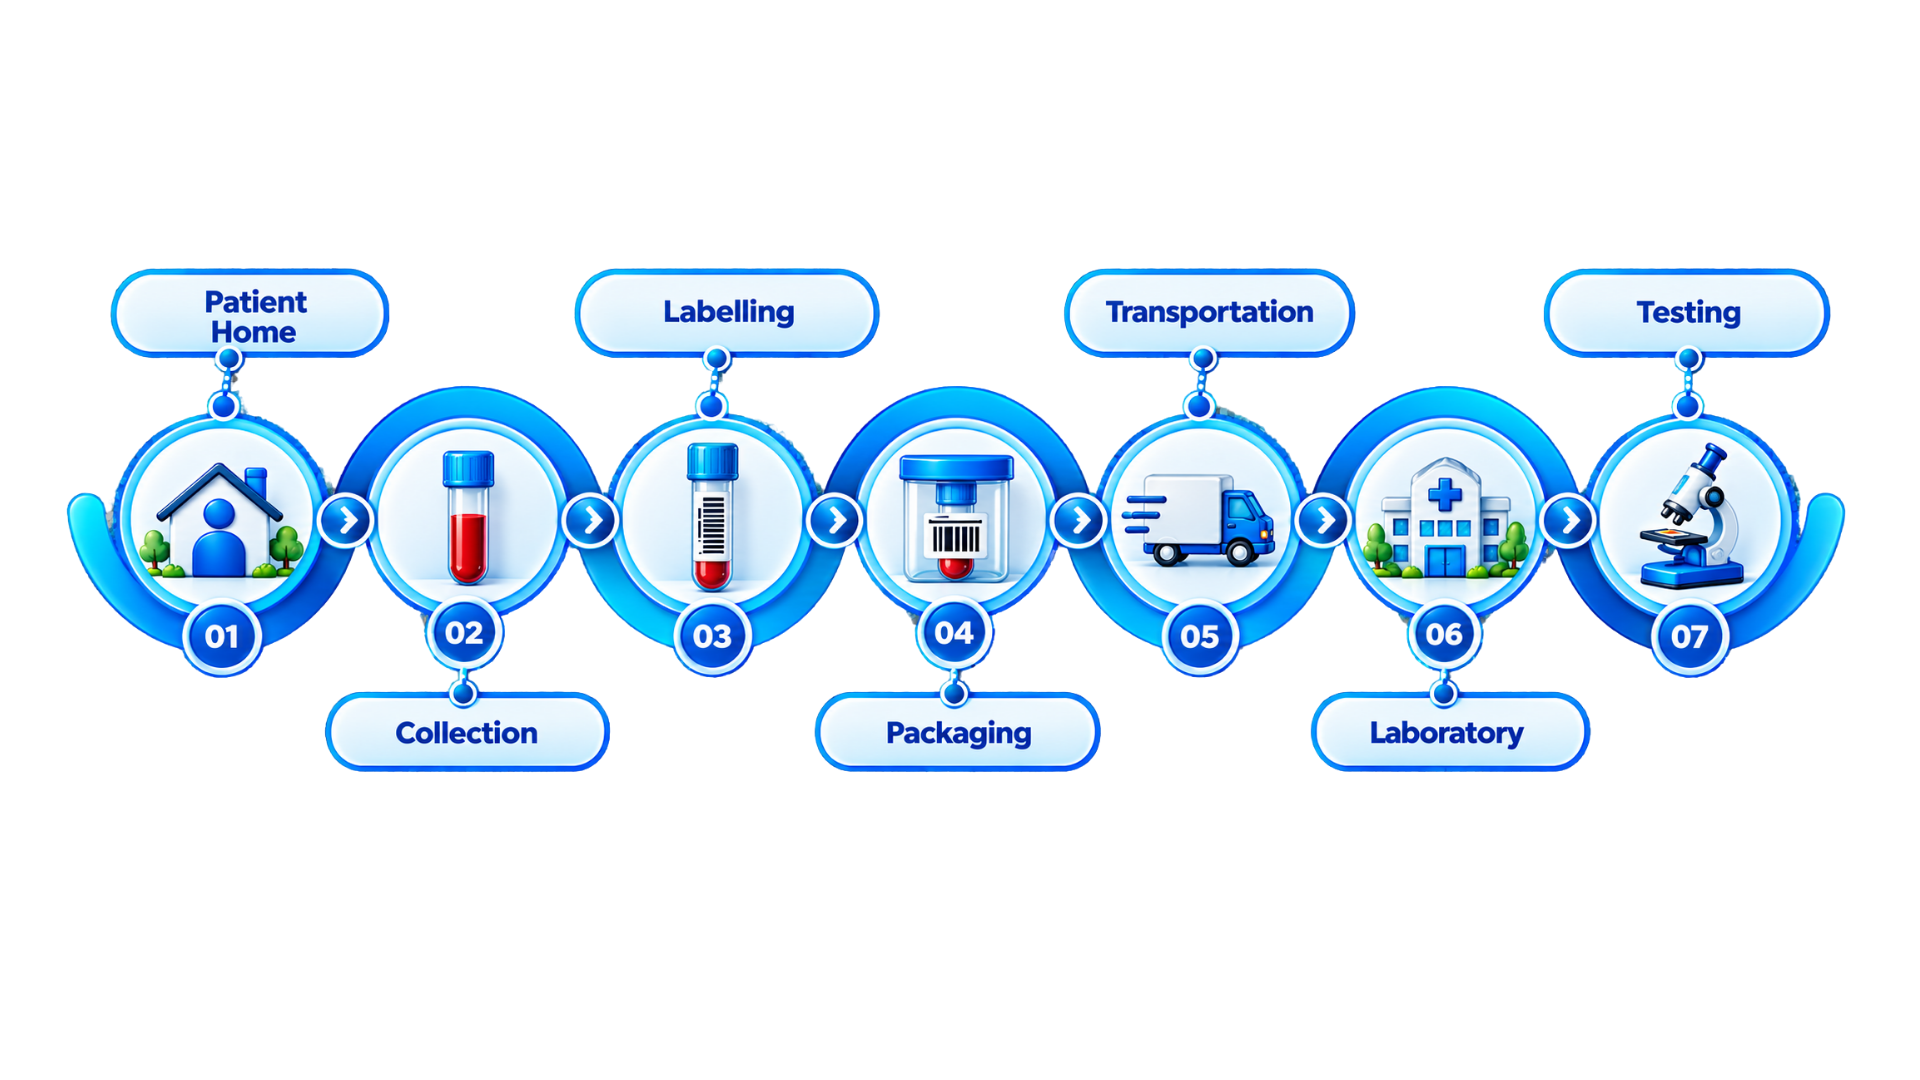
For laboratories offering home blood collection, getting this journey right is essential. A well planned process connects patient identification, safe collection, labelling, packaging, transportation, laboratory receiving, processing and testing into one controlled chain.
What Happens Before the Phlebotomist Arrives?
A reliable home collection process starts before the needle is used.
The appointment should contain the information needed to identify the patient, understand the requested tests and prepare the collection correctly. Depending on the examination, the patient may need specific preparation, such as fasting or following other instructions provided by the laboratory or healthcare professional.
The phlebotomist should arrive with the required collection tubes, needles and other supplies, along with materials for safe disposal and specimen transport.
The goal is simple: do not discover a missing requirement after the collection has started.
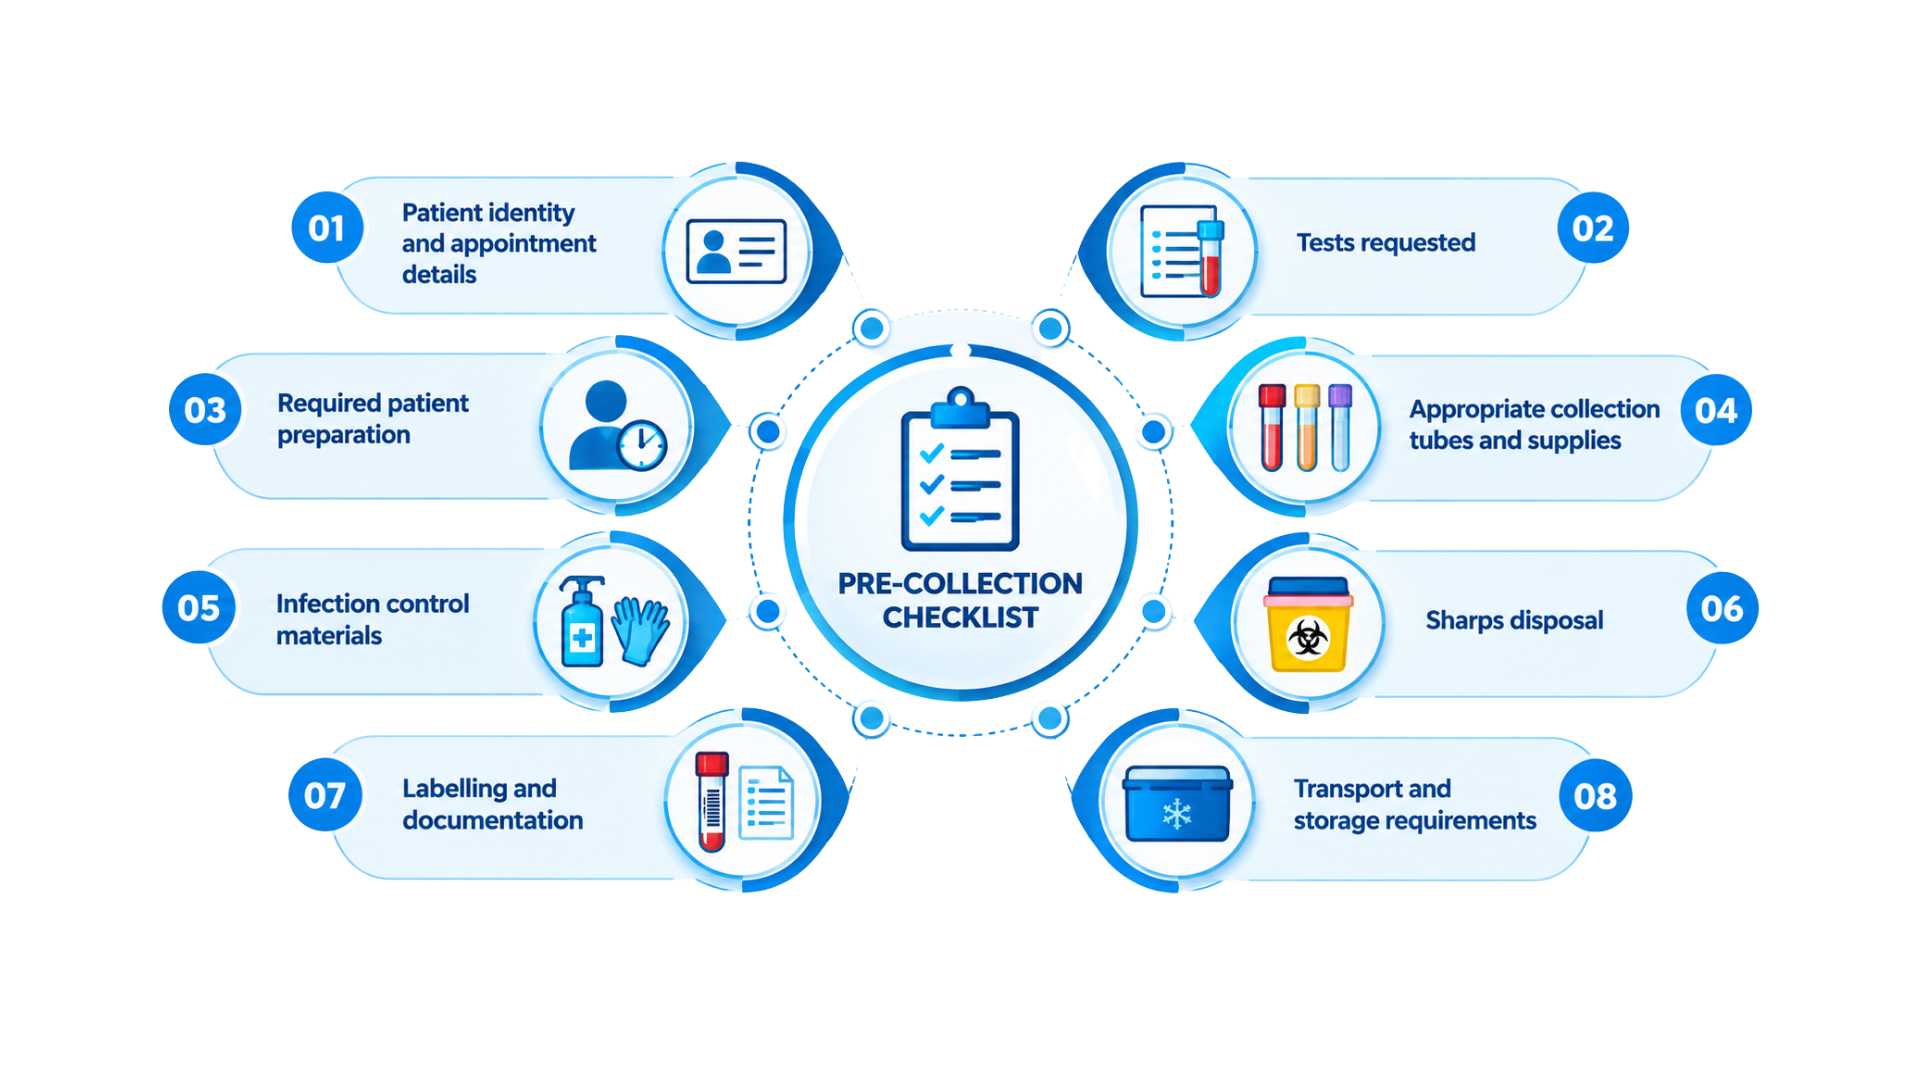
A good pre collection checklist covers:
- Patient identity and appointment details
- Tests requested
- Required patient preparation
- Appropriate collection tubes and supplies
- Infection control materials
- Sharps disposal
- Labelling and documentation
- Transport and storage requirements
Step 1 — Verify the Patient Before Collection
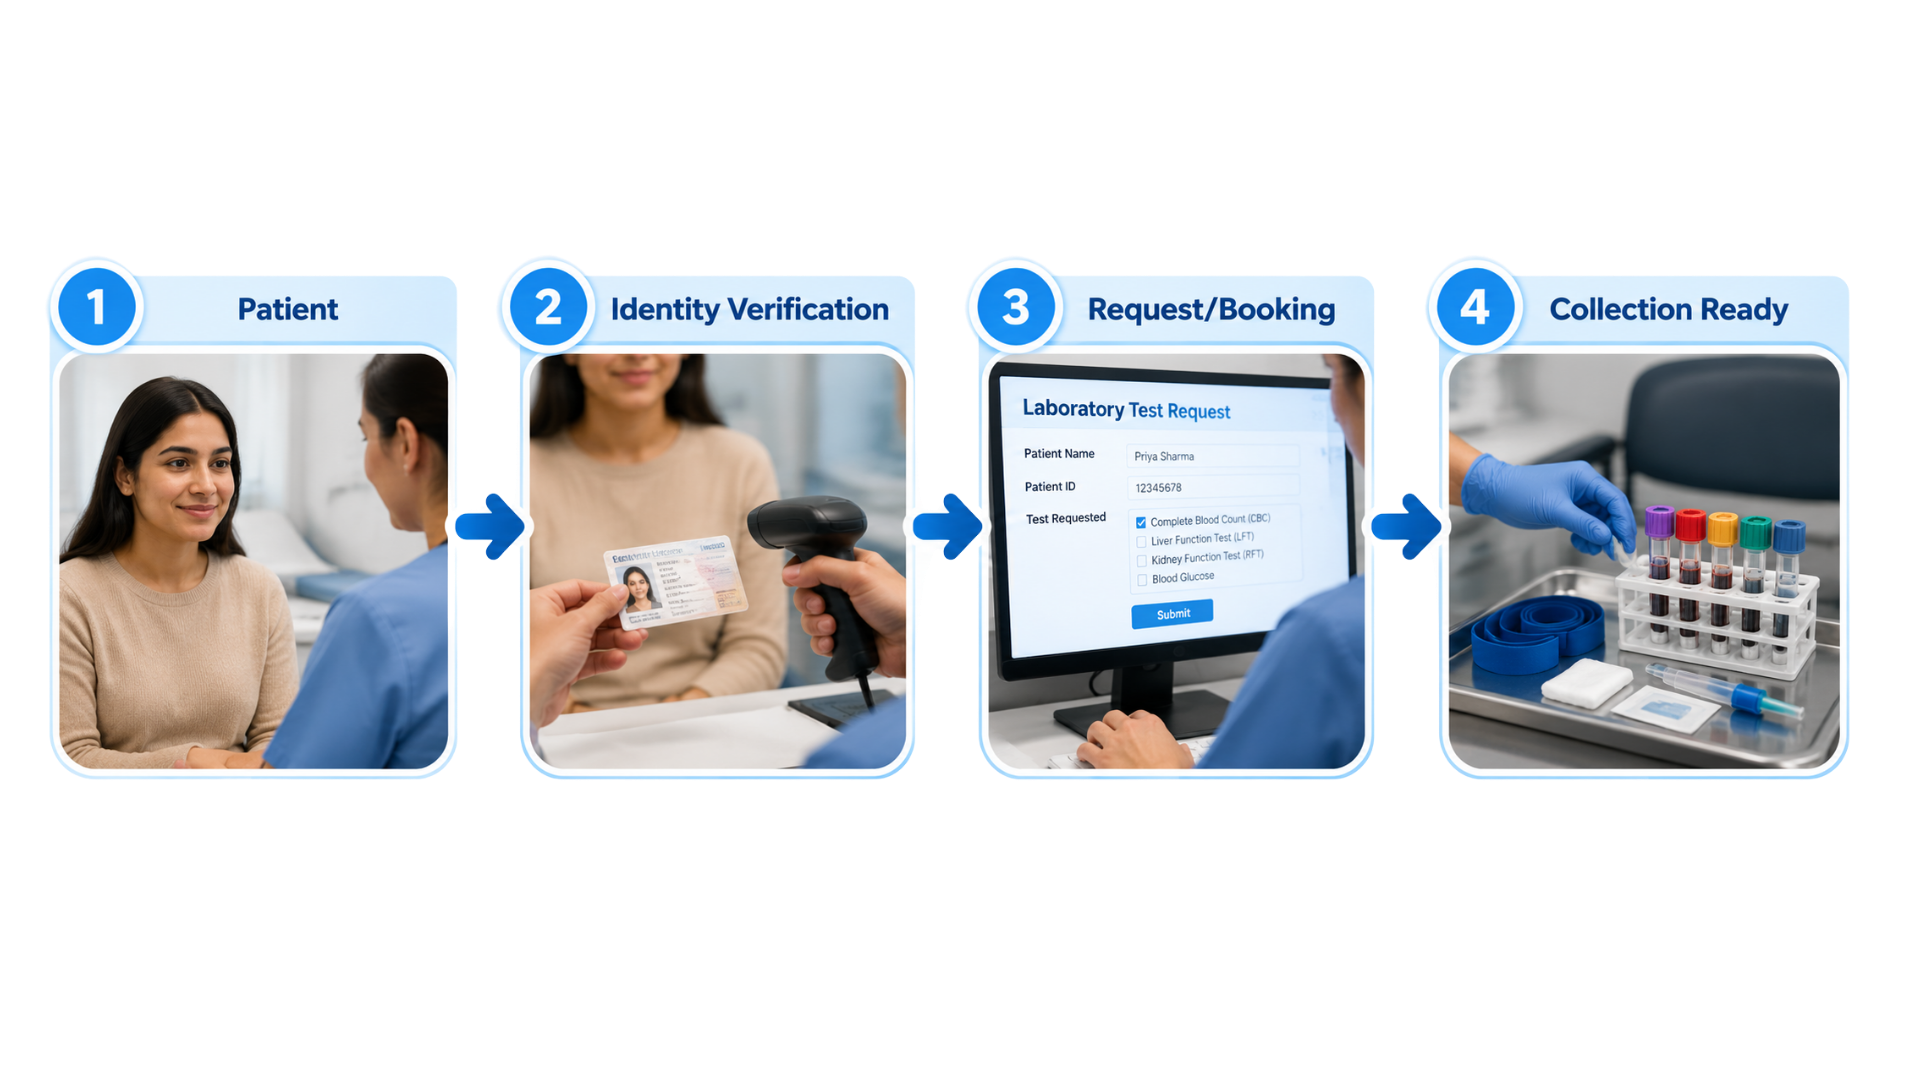
The first important action is not opening the needle packet. It is confirming who the patient is.
The phlebotomist should follow the laboratory's approved patient identification procedure and match the patient with the request or booking information.
This matters because a perfectly collected sample can still become a serious problem if it is assigned to the wrong person.
The patient should also receive a clear explanation of what will happen. This can reduce anxiety and help the collection proceed calmly.
Privacy matters at home as well. The collection process should be handled professionally, with patient information and documents protected from unnecessary exposure.
Step 2 — Prepare a Clean and Safe Collection Area
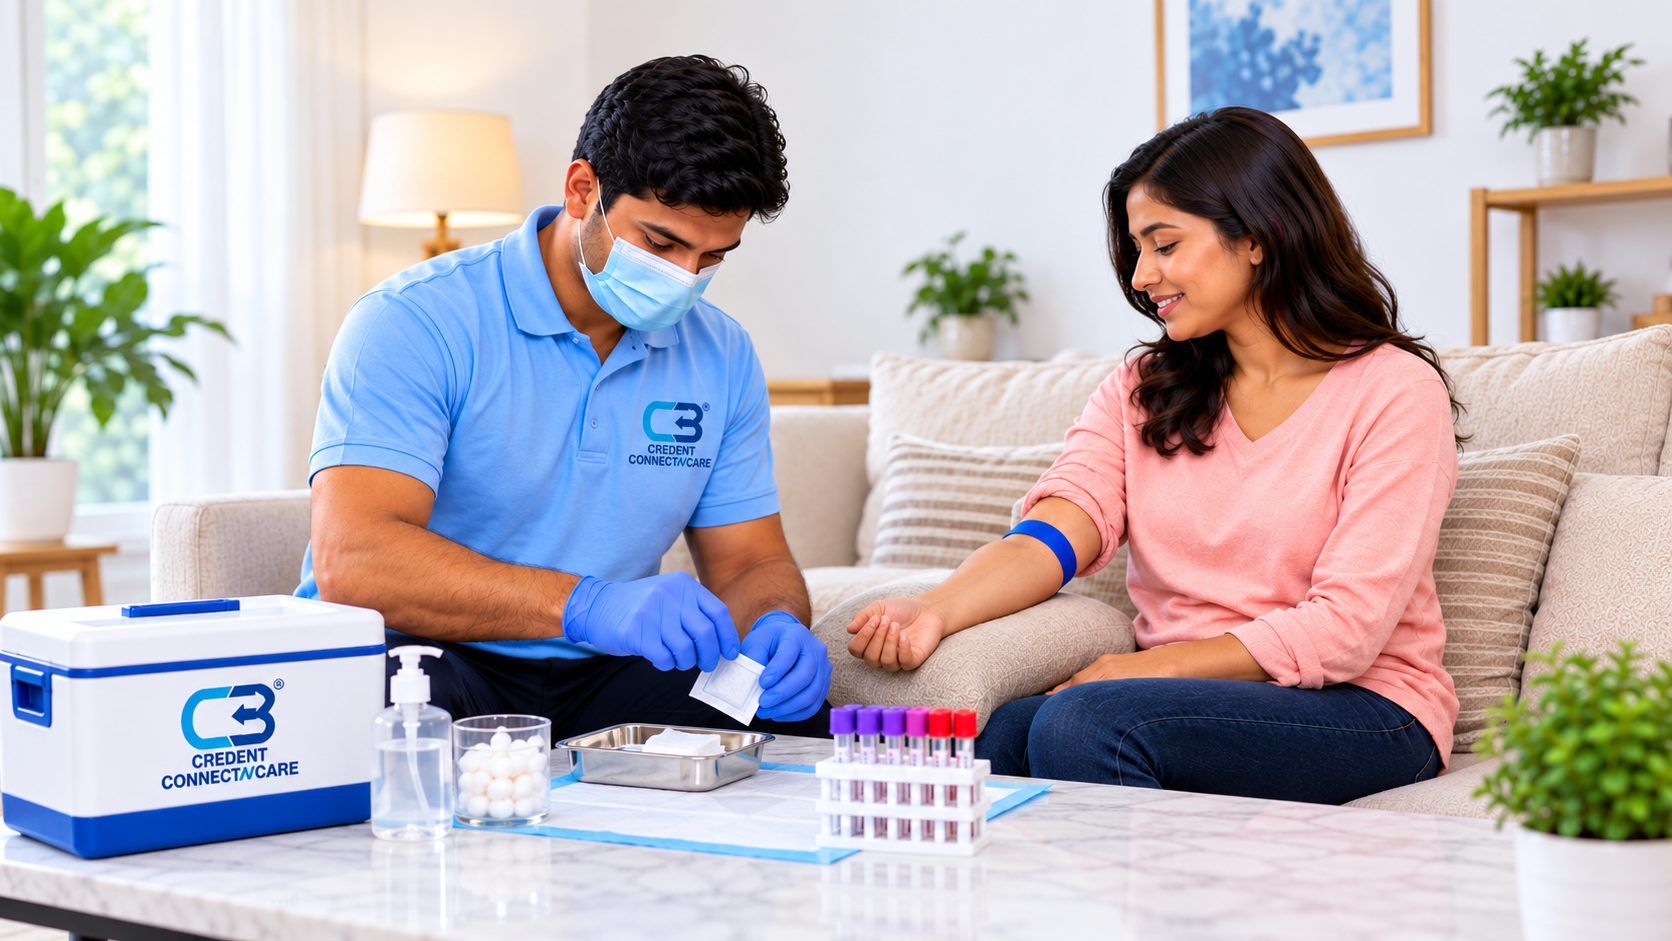
Home environments vary considerably. A bedroom, dining table or living room corner may become the temporary collection area.
The phlebotomist therefore needs to create a clean, organized working space before starting.
Hand hygiene, appropriate gloves, skin antisepsis and sterile single use blood sampling devices are fundamental parts of safe phlebotomy. Used sharps should be discarded immediately into an appropriate sharps container rather than being left on the household surface.
The collection area should also be arranged so that the phlebotomist can work without mixing clean supplies with used materials.
The objective is not to make the patient's home look like a laboratory. It is to bring a controlled collection process into the home.
Step 3 — Collect the Blood Correctly
The actual blood draw may take only a few minutes, but technique matters.
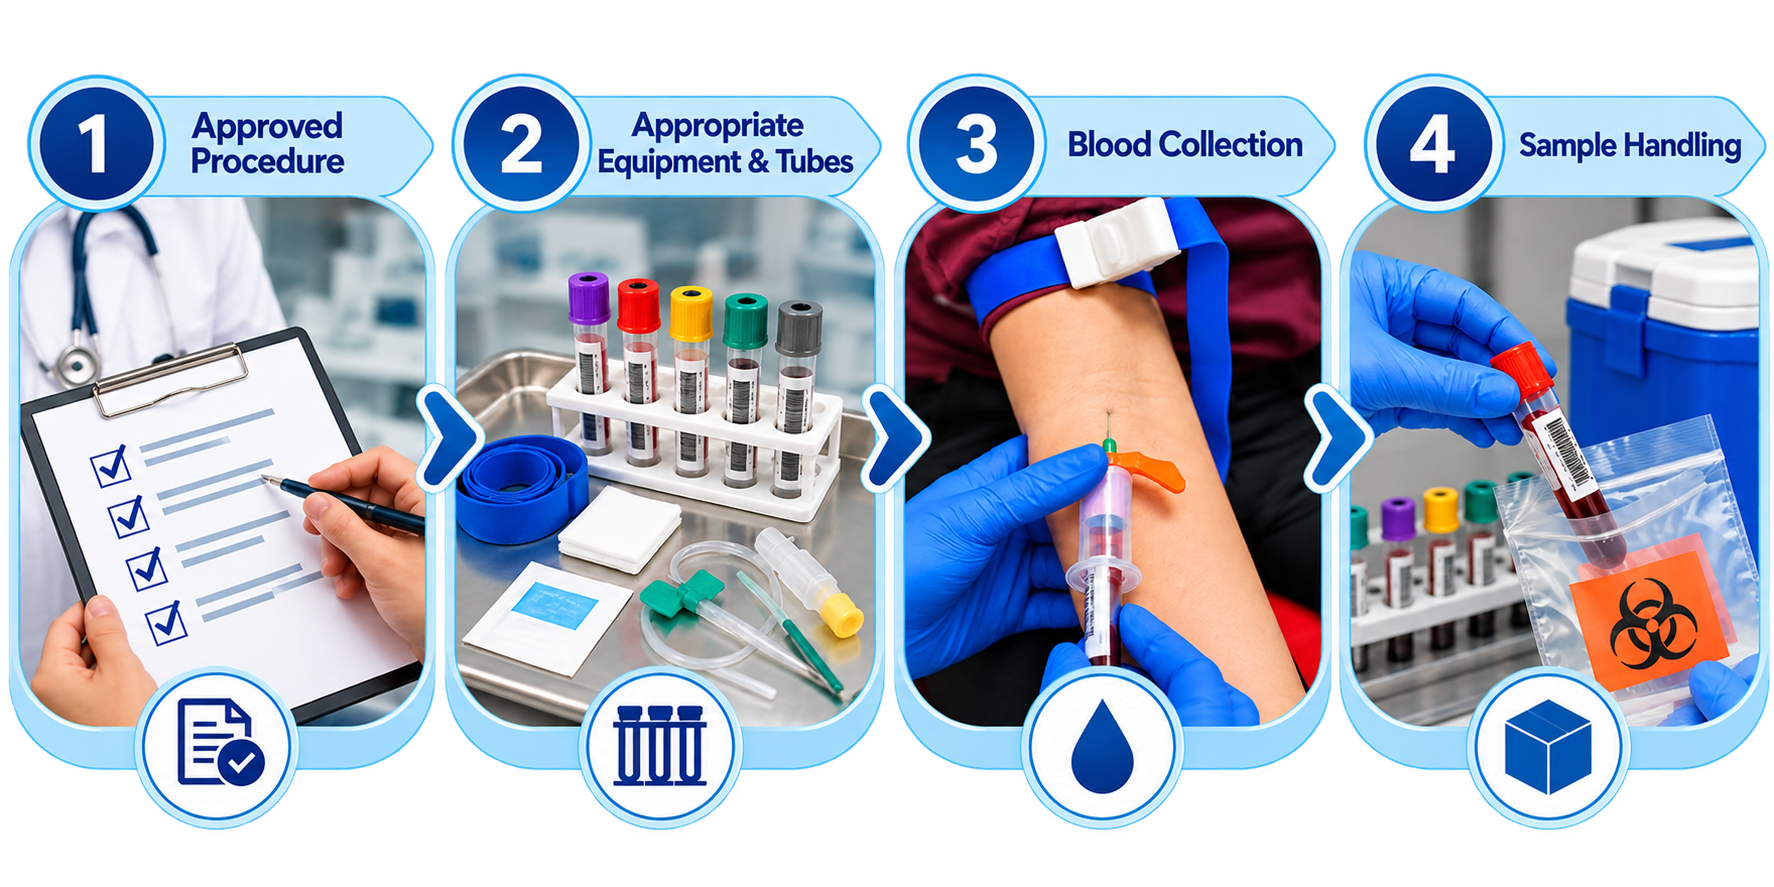
The phlebotomist follows the laboratory's approved procedure for the requested tests, using the appropriate collection equipment and tubes.
The correct sequence, tube requirements and handling instructions can vary according to the tests ordered. For that reason, a home collection team should work from documented procedures rather than memory or informal shortcuts.
After collection, the tubes should be handled according to the laboratory's requirements. Some specimens may require specific mixing, protection from light, temperature control or prompt transport.
The important principle is consistency: the sample collected at home should enter the laboratory's defined pre examination process.
Step 4 — Label the Sample Immediately
Imagine reaching the laboratory with ten blood tubes collected from different homes, but one tube has unclear identification.
The problem is no longer just administrative. The laboratory may have to investigate, reject the specimen or request recollection.
Labelling should therefore be treated as part of the clinical workflow, not paperwork that can be completed later.
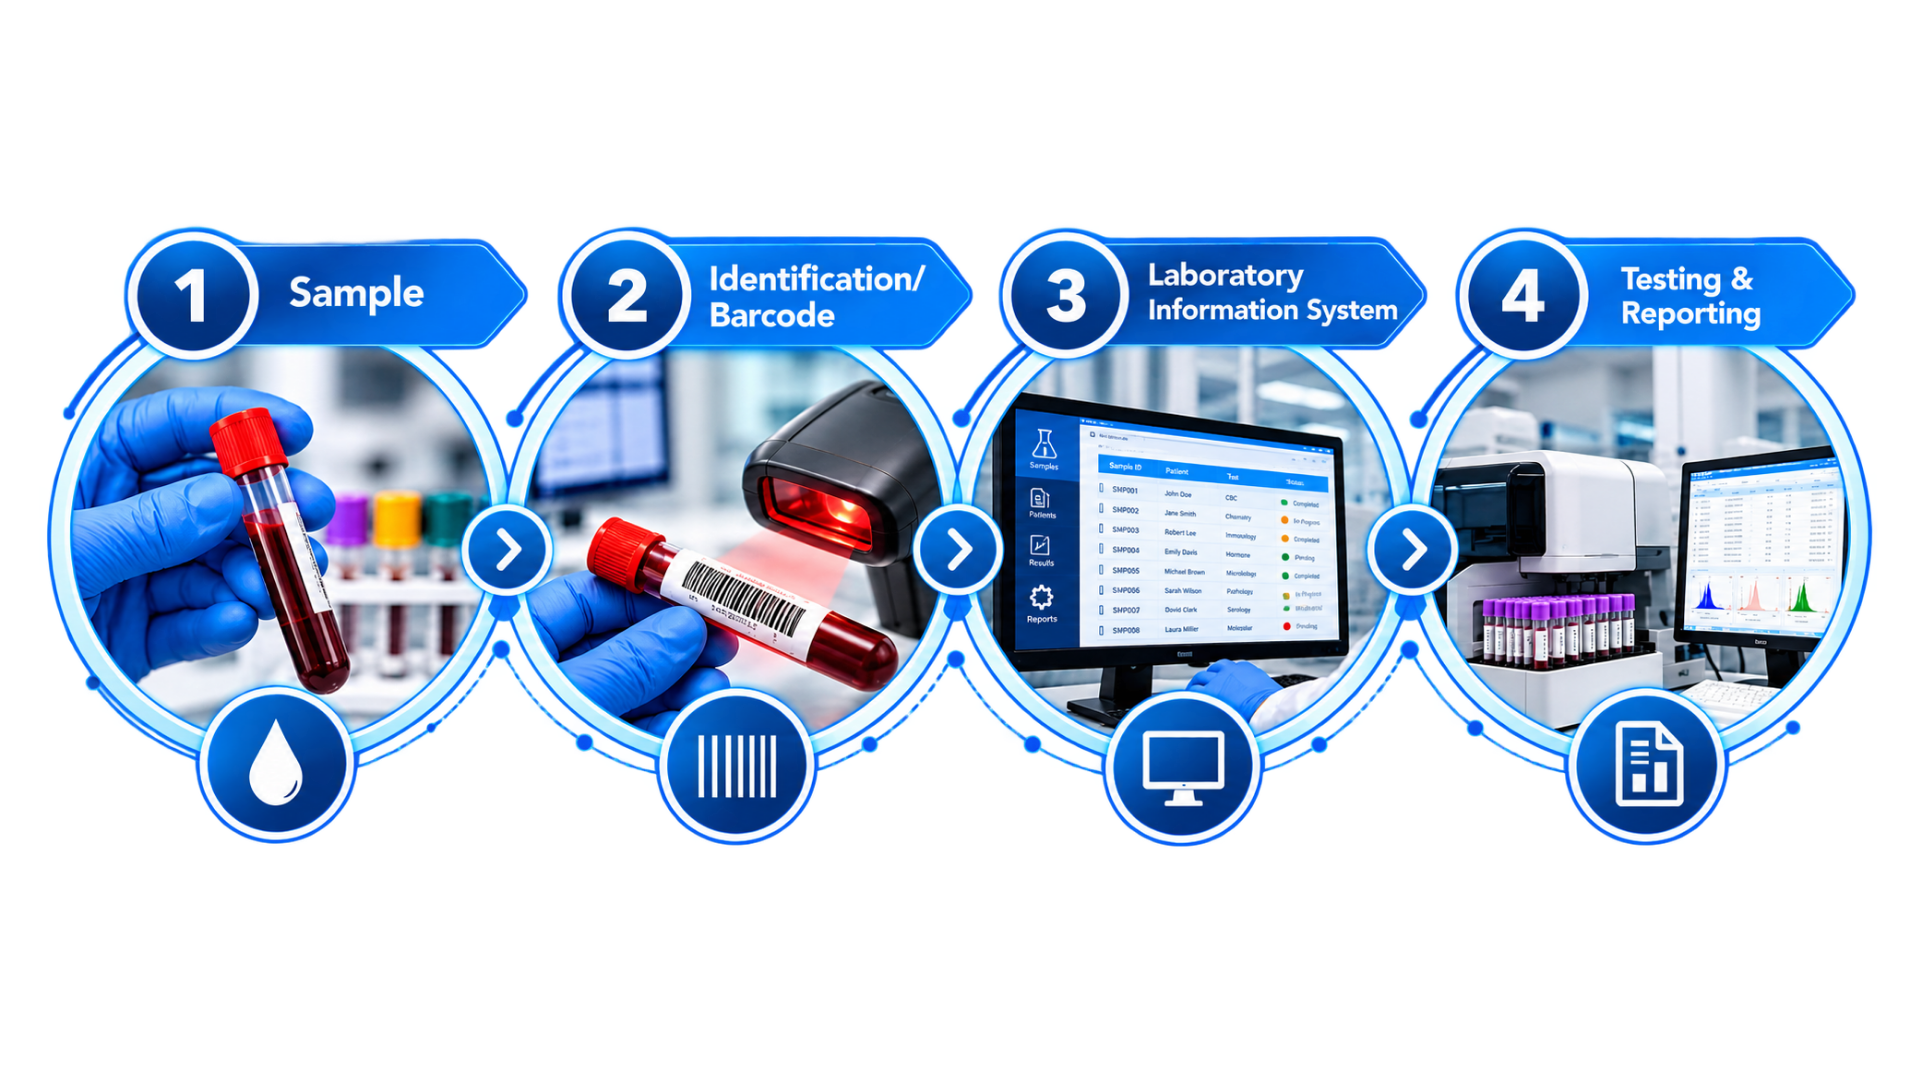
The sample should be identified according to the laboratory's approved system, with the necessary patient and collection information linked to the test request.
Where barcode systems are used, the barcode can connect the physical specimen with the laboratory information system and reduce manual data entry steps.
The basic principle remains the same: the identity of the tube must remain traceable from collection through laboratory testing and reporting.
Step 5 — Pack the Sample for Transportation
Once collection is complete, the sample is not ready to be treated like an ordinary parcel.
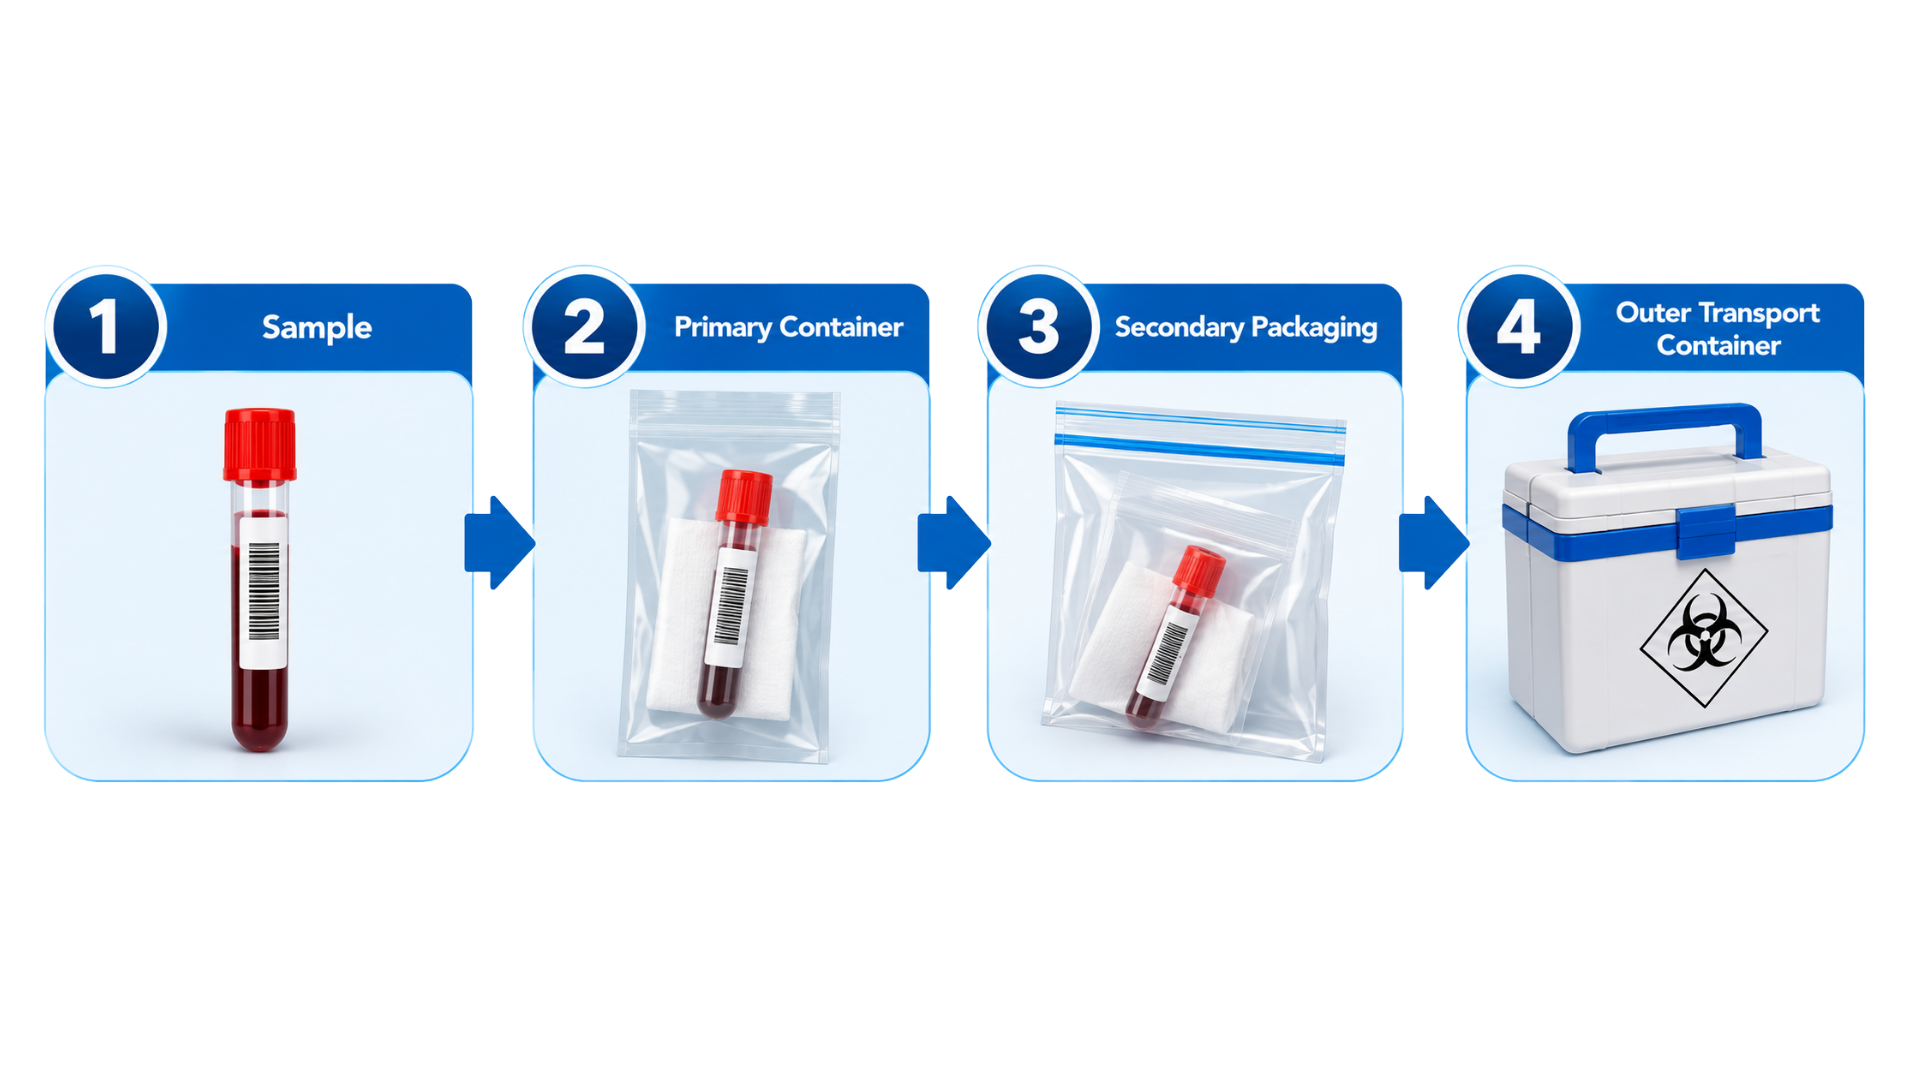
The transport method should be appropriate for the specimen and the tests being performed. Samples should be secured appropriately, and packaging, timing and temperature conditions should follow the laboratory's defined requirements.
The laboratory should define its transport requirements in advance.
That may include:
- Appropriate primary containers
- Protective secondary packaging
- Absorbent material where required
- Secure outer transport containers
- Required temperature conditions
- Documentation and tracking
- Defined maximum transport times
Not every blood sample has the same transport requirement. The correct condition depends on the specimen, test and laboratory procedure.
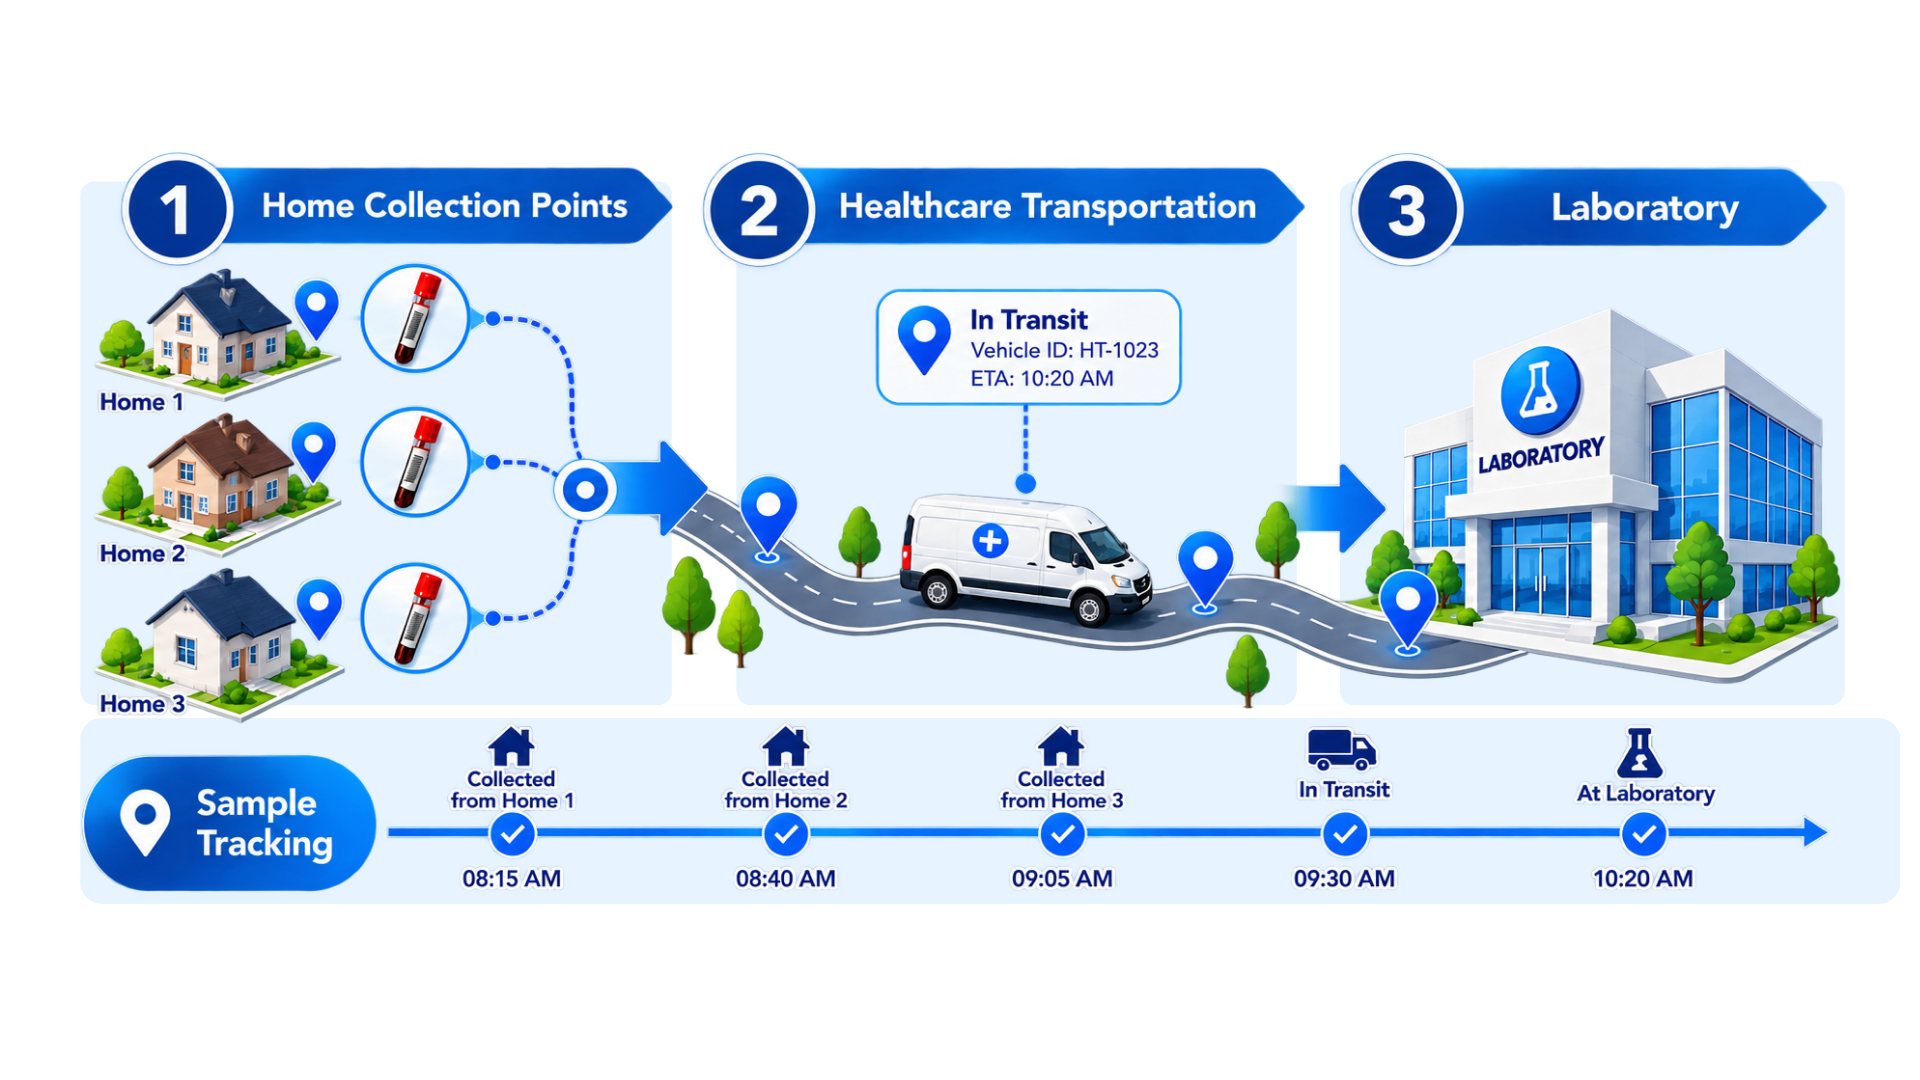
Step 6 — Move the Sample From Home to the Laboratory
This is where healthcare logistics becomes part of laboratory quality.
Suppose a phlebotomist completes ten home collections across a city. If every sample is handled through an informal delivery model, the laboratory may have little control over pickup timing, route planning or transit conditions.
A structured system defines how samples move from the collection location to the laboratory.
That can involve scheduled pickups, route planning, dedicated healthcare transportation, handover records and tracking.
Samples need to reach the laboratory within the appropriate timeframe and under conditions that preserve their quality. Poor transport can damage a specimen before testing even begins.
For laboratories operating home collection at scale, transportation should therefore be designed as part of the service rather than treated as an afterthought.
Step 7 — Laboratory Receiving Is a Quality Checkpoint
When the sample reaches the laboratory, the process does not simply continue automatically.
The receiving team needs to verify that the specimen meets the laboratory's acceptance requirements.
Depending on the test, checks may include:
- Correct identification
- Appropriate container
- Adequate specimen volume
- Visible specimen integrity
- Required documentation
- Transport condition
- Time between collection and receipt
If a specimen does not meet defined requirements, the laboratory should follow its established acceptance or rejection procedure.
This checkpoint protects the patient from results generated from unsuitable specimens and helps the laboratory identify problems in collection or transportation.
Step 8 — Processing and Testing Begin
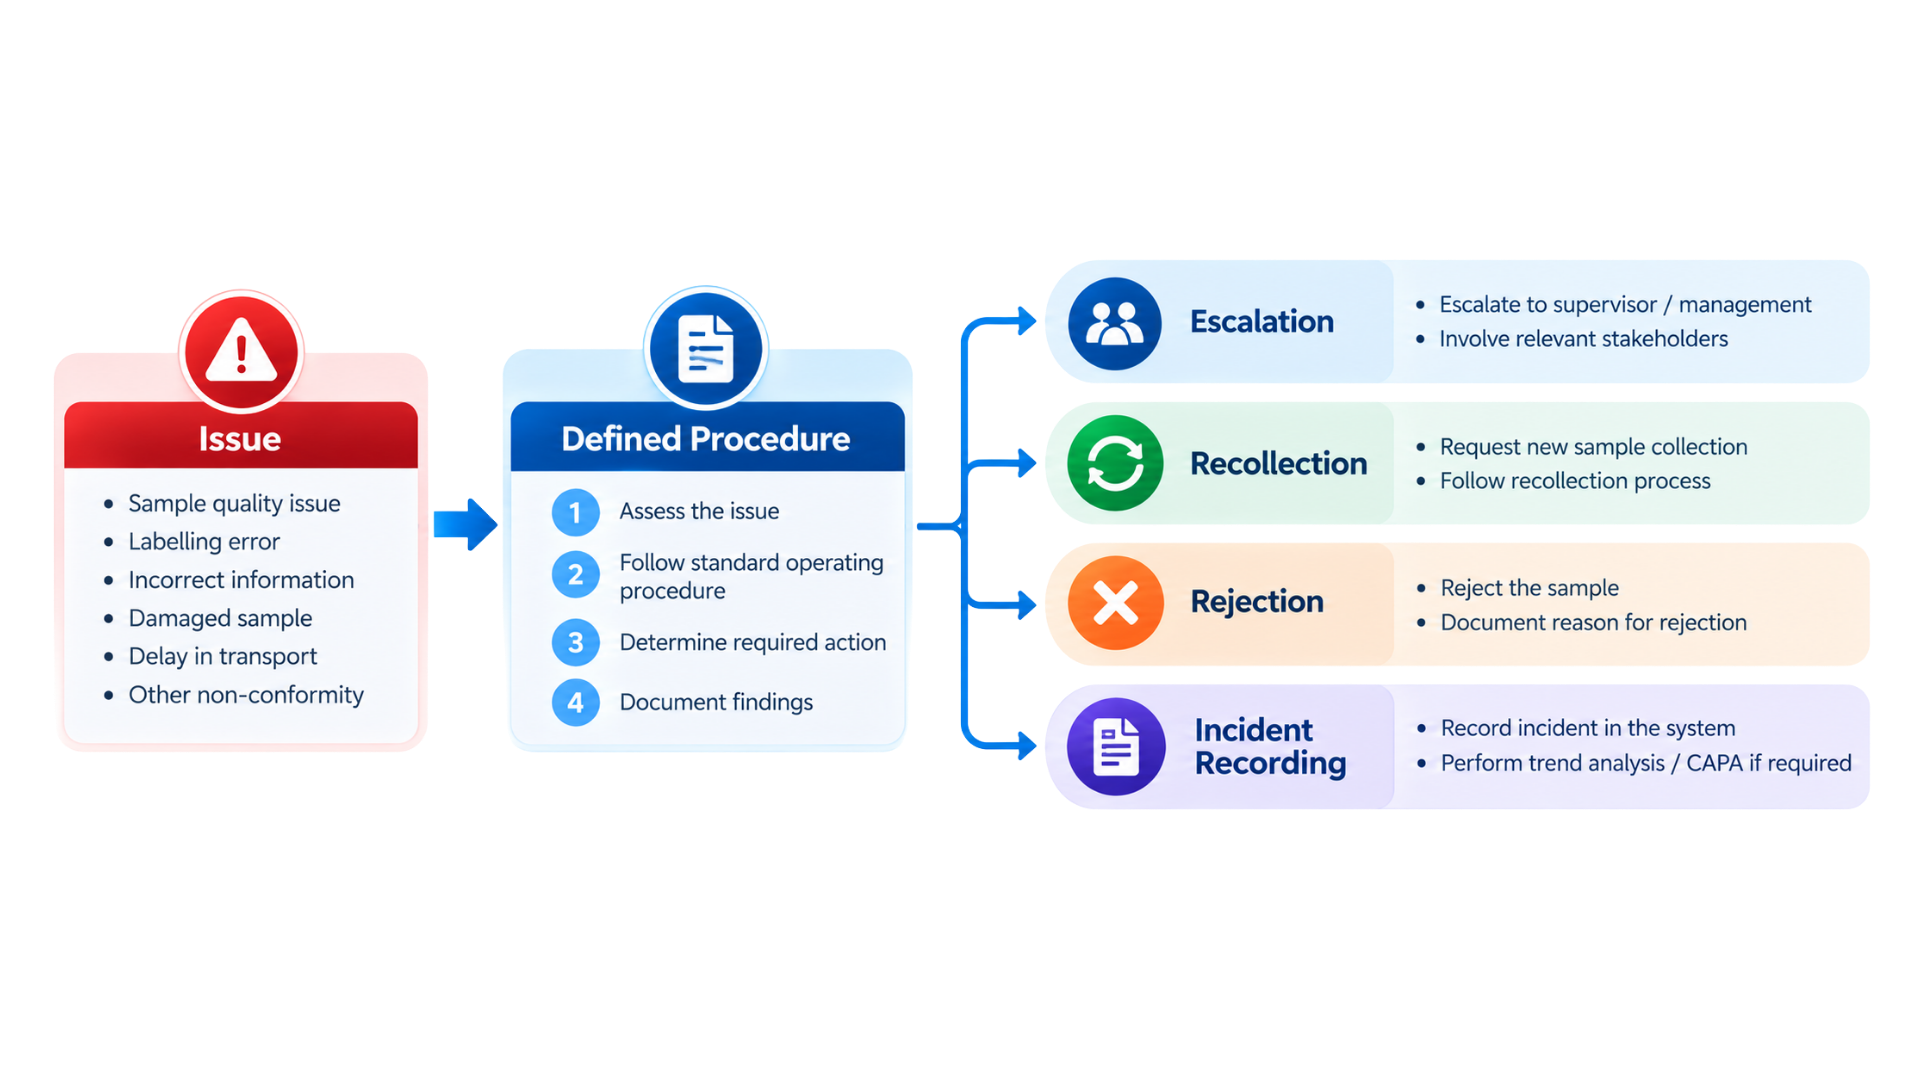
Once accepted, the sample enters the laboratory workflow.
The specimen may be centrifuged, separated, aliquoted or otherwise prepared depending on the examination. It then moves to the appropriate testing section.
At this stage, the home collection team may no longer be visible in the process, but its work still matters.
A sample that was correctly identified, collected, transported and received gives the laboratory a stronger starting point for reliable testing.
What Happens If Something Goes Wrong?
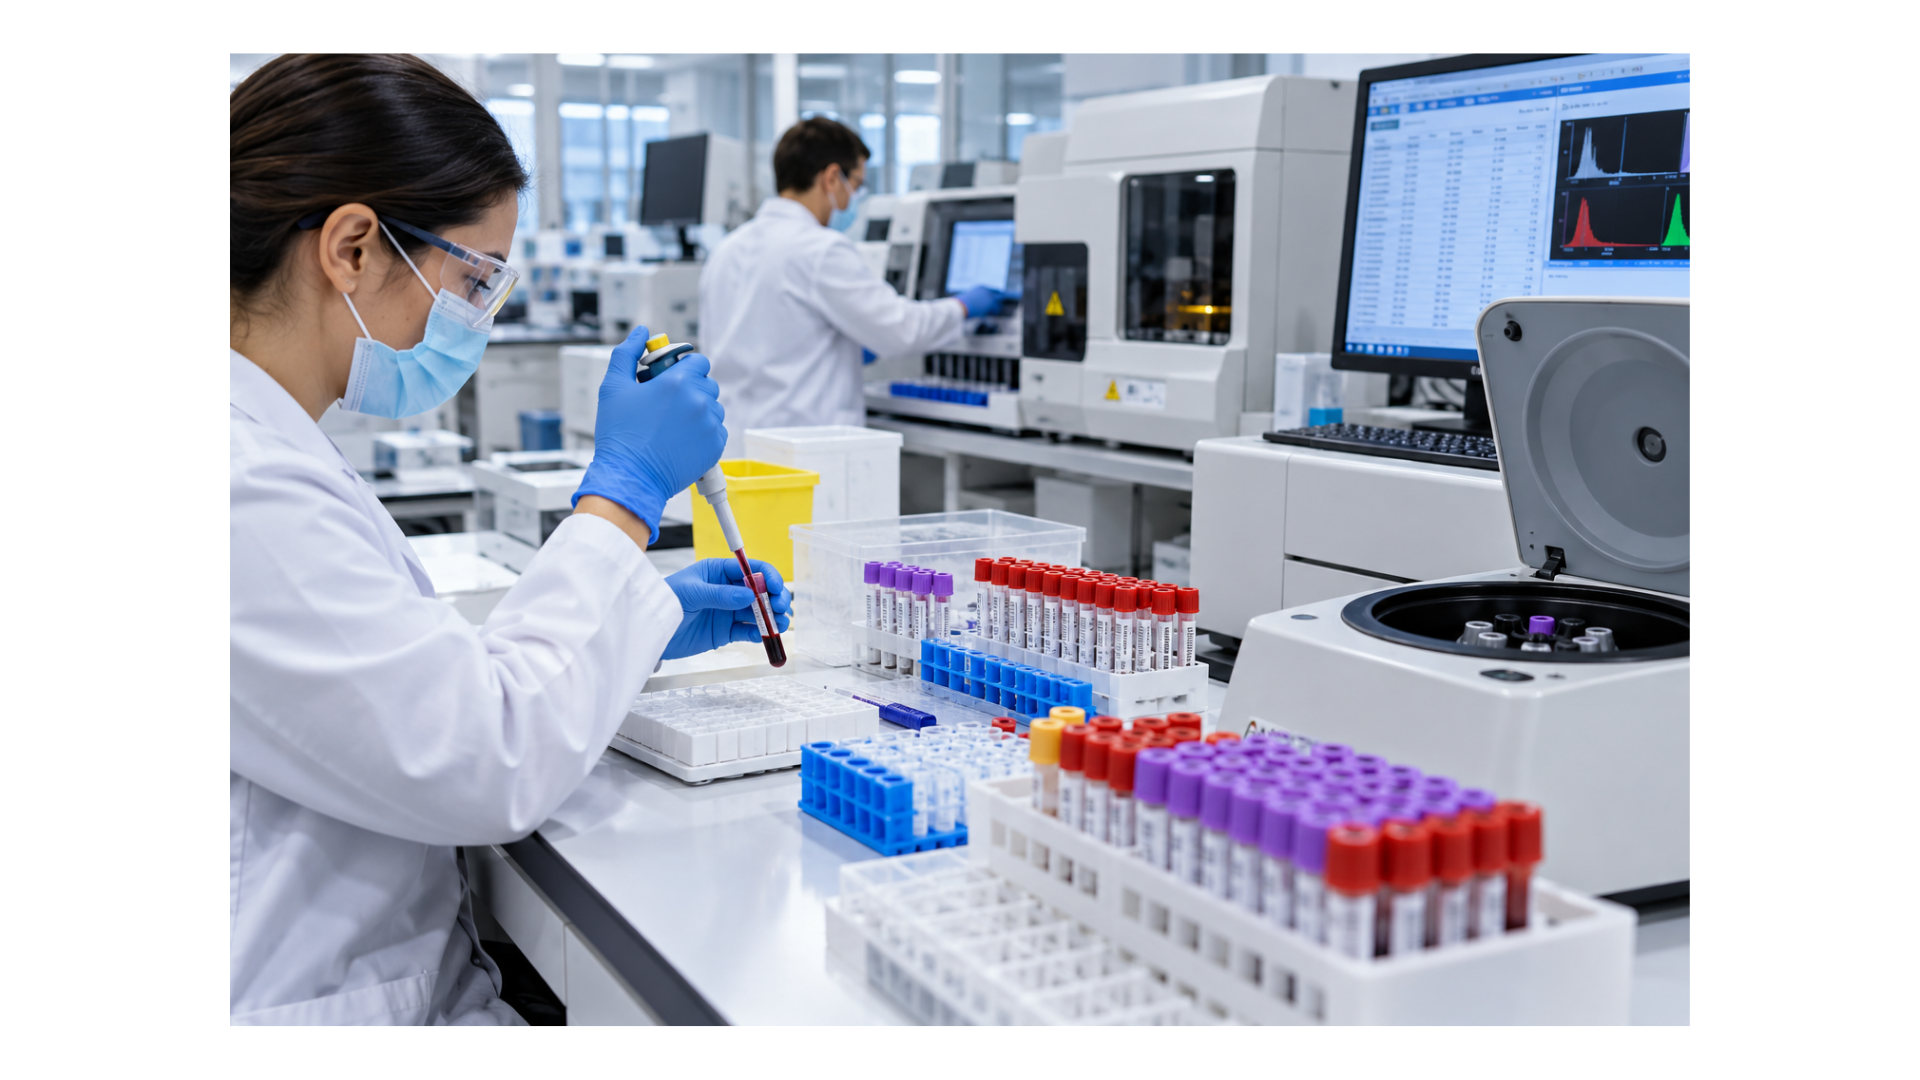
A mature home collection operation plans for exceptions before they occur.
- What if the patient is not available?
- What if the requested test requires different preparation?
- What if a tube is damaged?
- What if the sample reaches the laboratory outside the defined timeframe?
- What if the transport condition was not maintained?
The answer should not depend on whoever happens to be handling the sample that day.
The laboratory should have clear procedures for escalation, recollection, specimen rejection, incident recording and communication with the relevant team.
This is especially important when home collection volumes increase. At ten collections a day, a manager may solve problems manually. At hundreds of collections, undocumented exceptions can become a major operational burden.

Why Logistics Matters More as Home Collection Grows
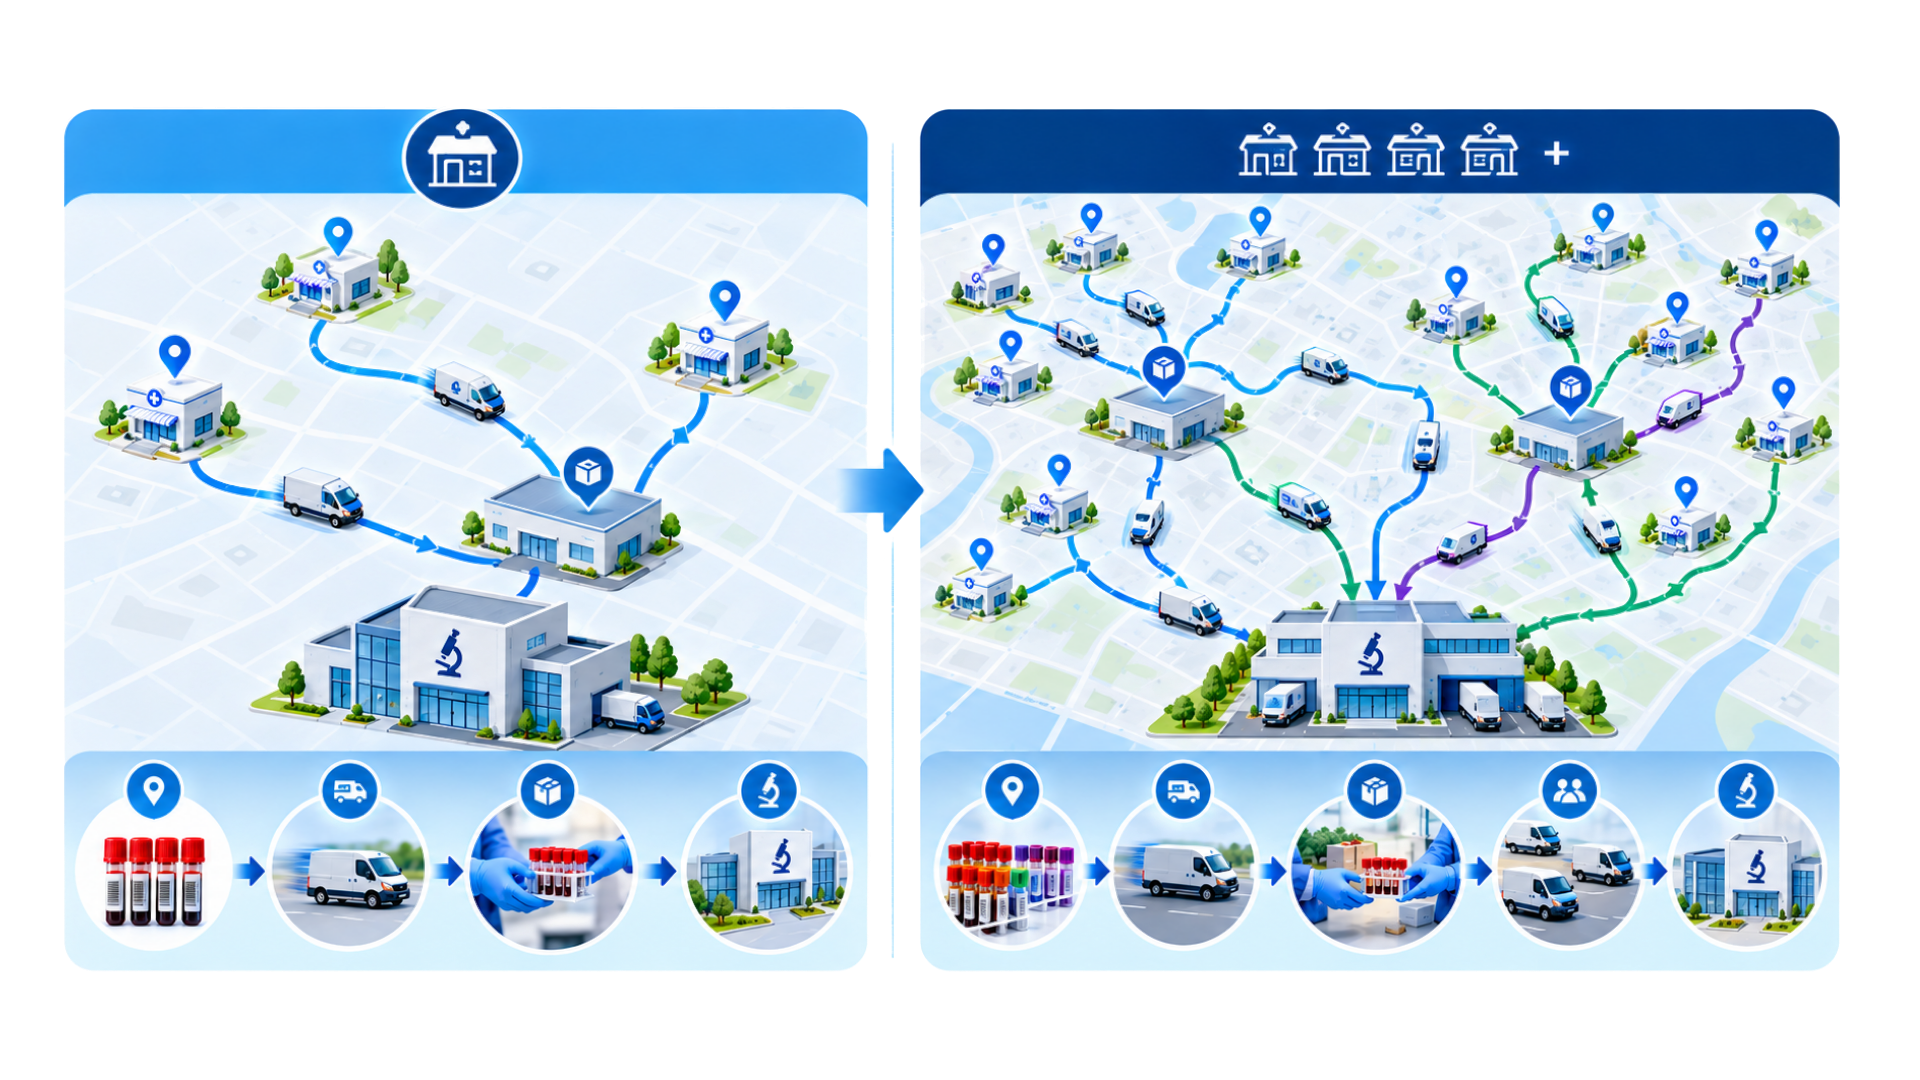
Home collection changes the laboratory's operating geography.
Instead of patients bringing samples to one location, the collection network moves outward into homes, offices, residential communities and other locations.
That creates more variables:
- More collection points
- More routes
- Different pickup times
- Longer or variable travel distances
- More handovers
- Greater need for traceability
- Higher coordination requirements
A laboratory can have excellent testing equipment and still experience operational problems if the collection to laboratory journey is poorly managed.
The objective is not simply to move samples quickly. It is to move them safely, traceably and within the conditions defined for the examination.
Building a Reliable Home Collection Workflow
The strongest home collection model is designed as one connected chain:
Appointment → Patient Verification → Preparation → Blood Collection → Labelling → Packaging → Transportation → Laboratory Receiving → Acceptance Check → Processing → Testing → Reporting
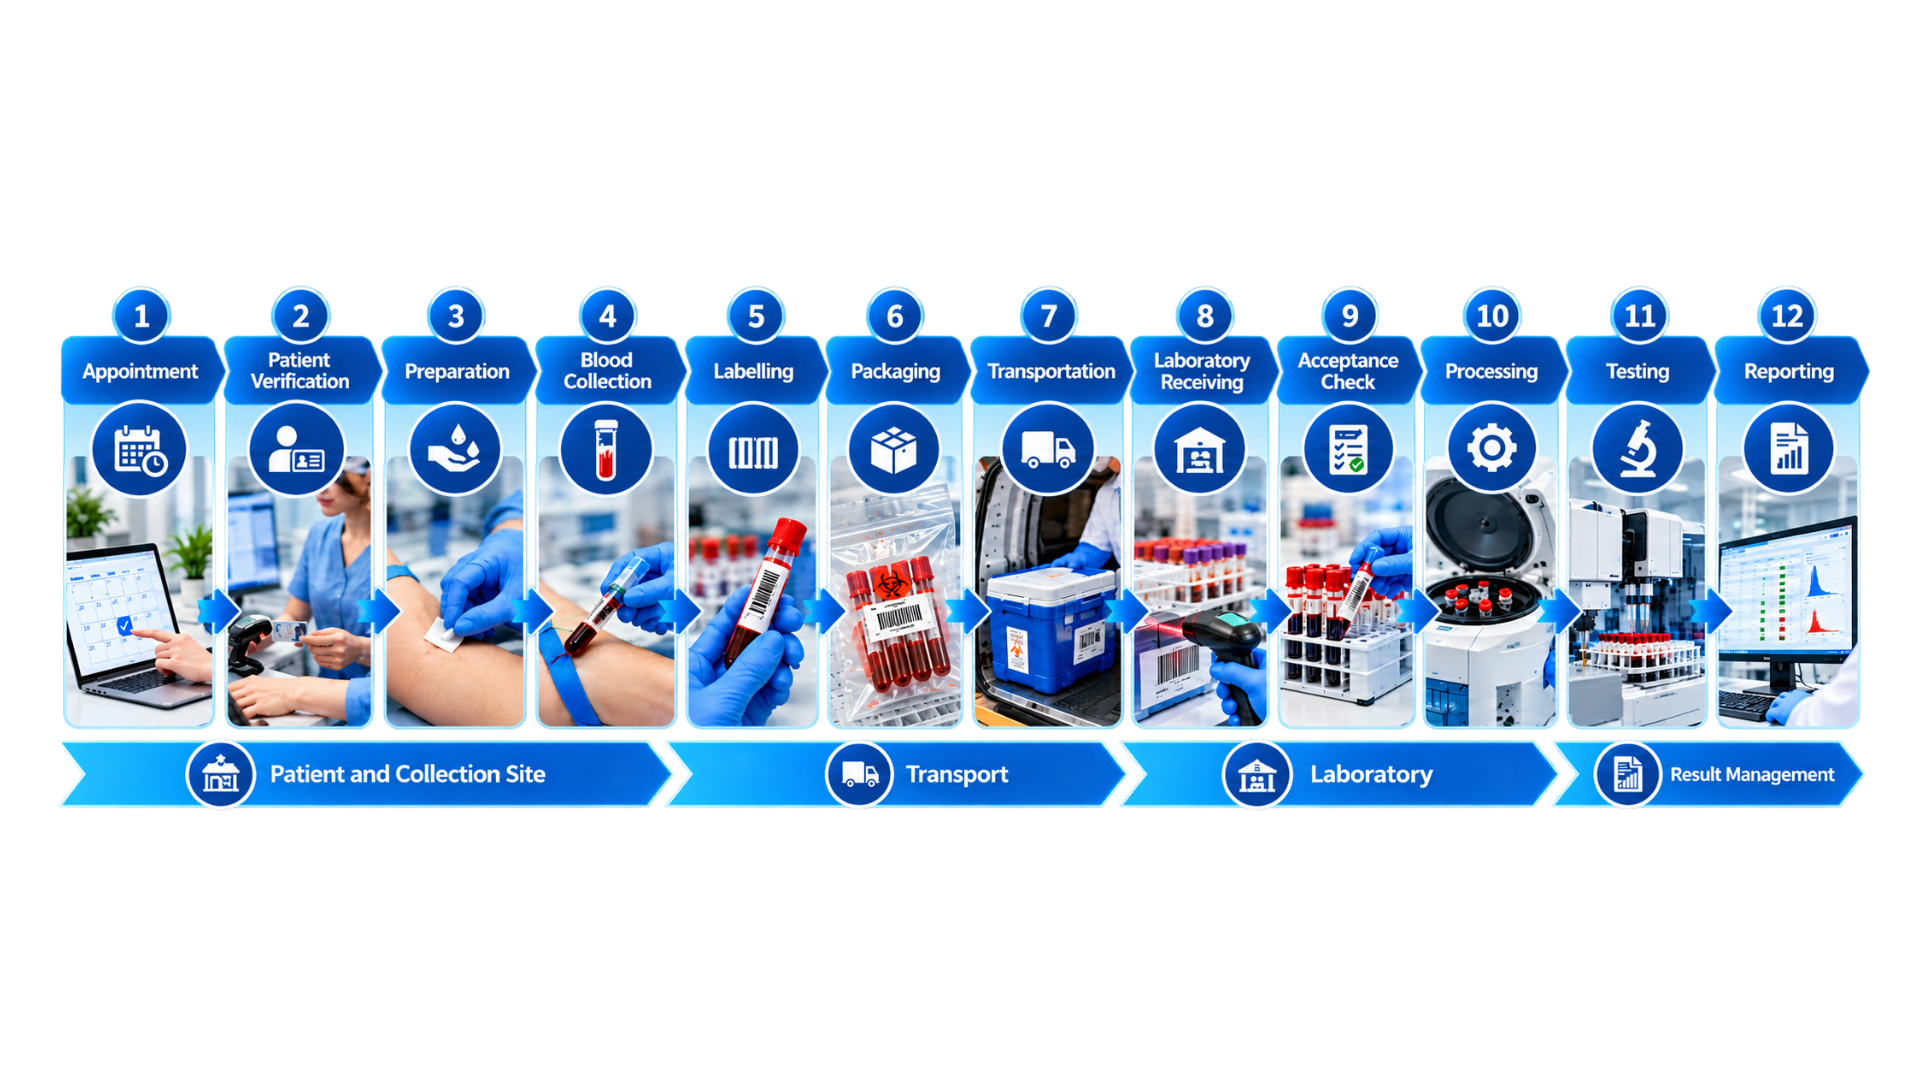
Each stage has a purpose.
- If patient identification fails, the sample identity is at risk.
- If collection technique fails, specimen quality may be affected.
- If labelling fails, traceability breaks.
- If transportation fails, specimen integrity may be compromised.
- If laboratory receiving fails, an unsuitable sample may enter testing.
That is why home blood collection should be managed as an extension of the laboratory, not as a separate doorstep service.
Where C3 Logistics Fits
For a laboratory with limited home collections, transportation may be relatively simple to coordinate.
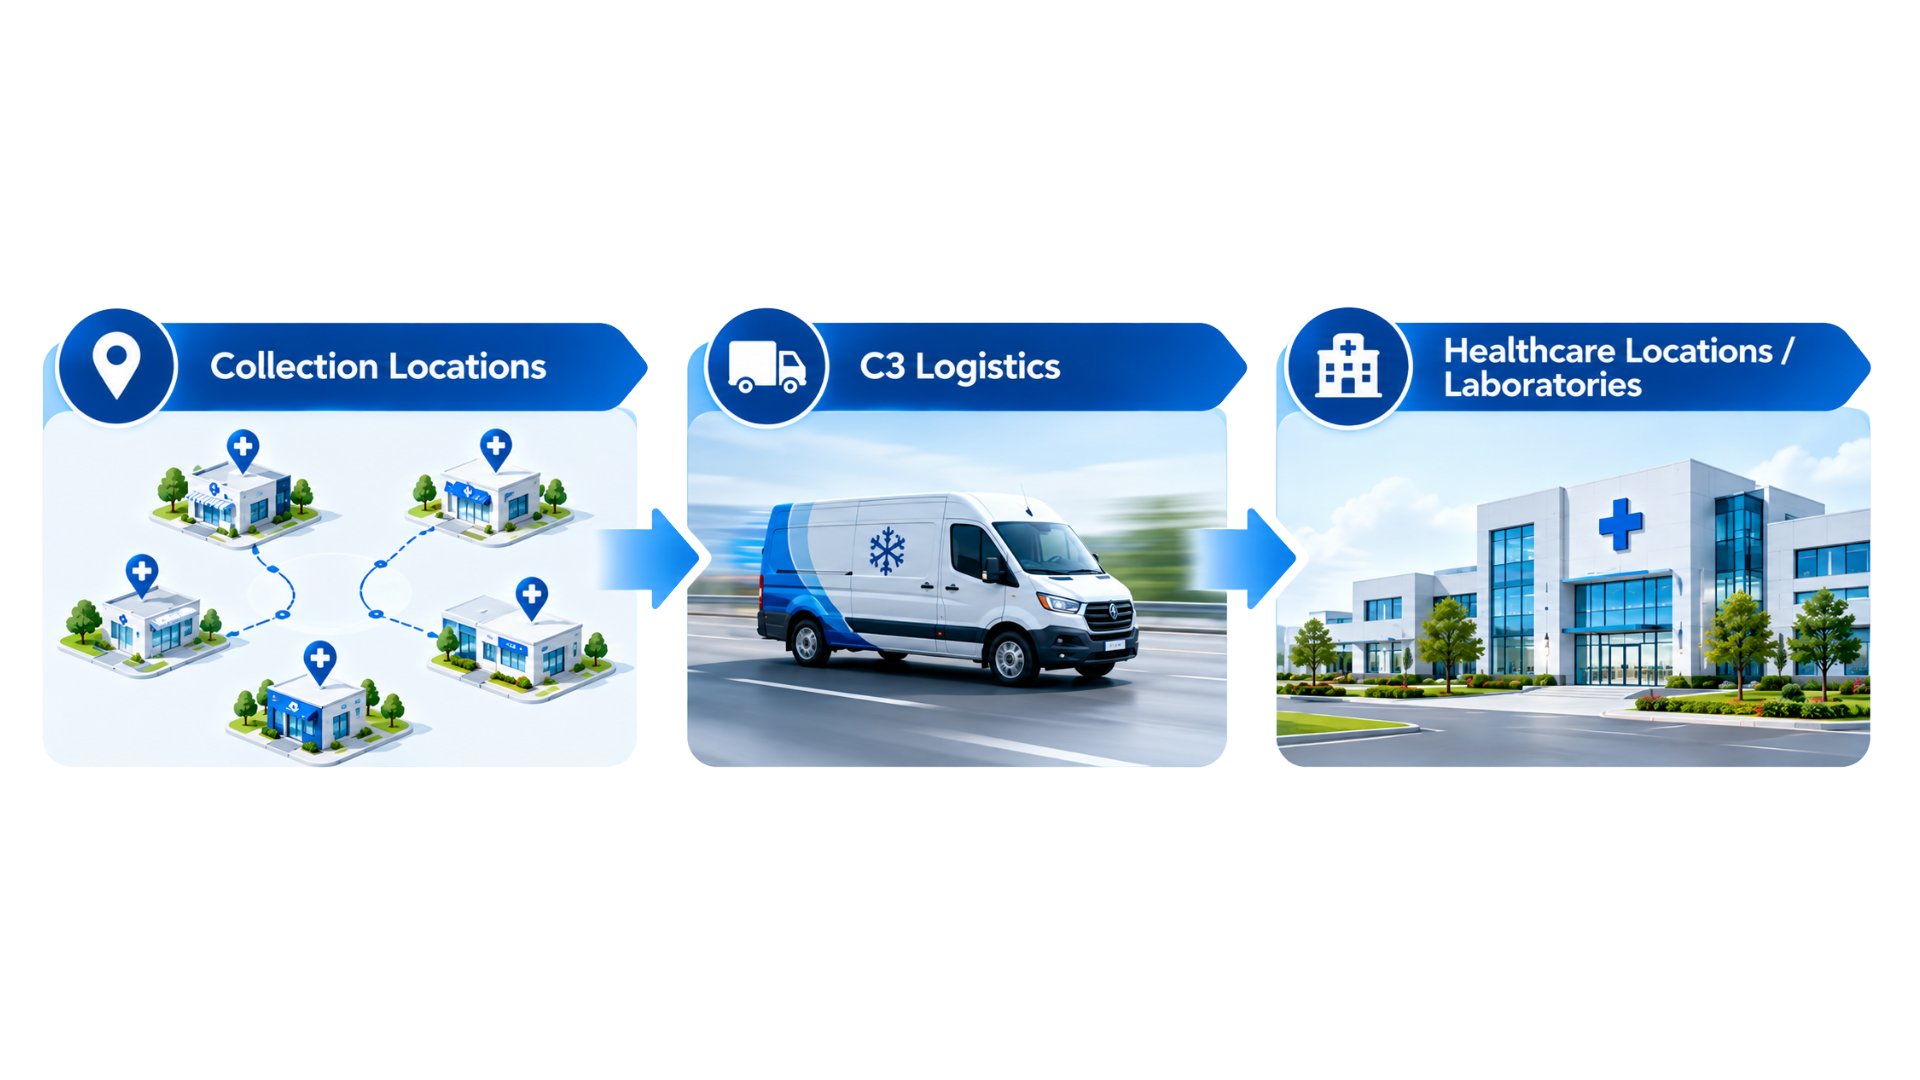
As the network grows, however, moving samples between homes, collection points and laboratories becomes a recurring healthcare logistics requirement.
C3 Logistics can support the logistics layer where diagnostic samples need to move between healthcare locations, with transportation processes designed around the laboratory's defined requirements.
For laboratories evaluating a logistics partner, the useful questions are not only "How fast can you deliver?"
Ask:
- How are pickups scheduled?
- How are routes coordinated?
- How are handovers tracked?
- How are time sensitive samples handled?
- How are required transport conditions maintained?
- How can the model scale as collection volume increases?
A dependable process should make the laboratory's work easier, not create another point of uncertainty.
Final Takeaway
Home blood collection begins at the patient's doorstep, but the process does not end when the needle is removed.
The sample still has to be identified, labelled, protected, transported, received, checked, processed and tested.
The best home collection systems treat every stage as part of one laboratory workflow. When collection teams, laboratories and healthcare logistics work from clearly defined procedures, the journey from patient to result becomes easier to control.
For diagnostic businesses expanding home collection services, the logistics layer becomes increasingly important as collection volumes and locations grow.